

클라이언트 <-> 웹 앱 서버(NGINX+PHP) <-> DB 서버
192.168.0.100 10.10.10.200 10.10.10.100
순서대로 명령창에 쭉 치면 됩니다
1. DB 서버
DB 서버 프로그램 설치
yum install -y mariadb-server
DB 서버 프로그램 실행
systemctl start mariadb
방화벽 끄기
setenforce 0
systemctl stop firewalld
클라이언트 프로그램
mysql
사용자 생성
CREATE USER '[이니셜]'@'%' IDENTIFIED BY 'qwer1234';
DB 생성
CREATE DATABASE [DB 이름];
사용자한테 DB 관리 권한 부여
GRANT ALL PRIVILEGES ON [DB 이름].* TO '[이니셜]'@'%';
클라이언트 프로그램 종료
exit
윈도우 컴퓨터
DB 클라이언트 프로그램 설치
자료실에 workbench 설치
워크벤치에서 서버로 접속
connection name : 아무거나
Hostname : 리눅스 컴퓨터 IP
Port : mariadb-server의 포트번호 = 3306
Username : [이니셜]
database -> reverse engineer -> erd 작성
database -> forward engineer -> sql문 생성(db 이름 변경, INDEX라인, CONSTRAINT 라인 삭제)
2. 웹 서버 준비
1) nginx 설치
yum install -y nginx
2) php 설치
dnf install -y https://dl.fedoraproject.org/pub/epel/epel-release-latest-8.noarch.rpm
dnf install -y https://rpms.remirepo.net/enterprise/remi-release-8.rpm
dnf module reset php
dnf install -y php php-mysqlnd php-fpm php-opcache php-curl php-json php-gd php-xml php-mbstring php-zip -y
3) php 설정(숫자는 해당 라인을 수정하란 것임)
vi /etc/php-fpm.d/www.conf
24 user = nginx
26 group = nginx
48 ;listen.owner = nginx
49 ;listen.group = nginx
systemctl restart php-fpm
4) wordpress 설치
yum install -y wget
wget https://ko.wordpress.org/latest-ko_KR.tar.gz
tar zxvf latest-ko_KR.tar.gz
mv wordpress /var/www/html/
5) nginx 서버 설정

vi /etc/nginx/conf.d/test.conf
server {
listen 80;
server_name test [웹 서버 IP주소(window주소. 포트80번 아닐 시 port도 적어야함)];
root /var/www/html/wordpress;
index index.php index.html index.htm;
# set client body size to 100 MB #
client_max_body_size 100M;
location / {
try_files $uri $uri/ /index.php?$args;
}
error_page 404 /404.html;
error_page 500 502 503 504 /50x.html;
location = /50x.html {
root /usr/share/nginx/html;
}
location ~ \.php$ {
try_files $uri =404;
fastcgi_pass unix:/var/run/php-fpm/www.sock;
fastcgi_index index.php;
fastcgi_param SCRIPT_FILENAME $document_root$fastcgi_script_name;
include fastcgi_params;
}
}
6) 폴더 권한 설정
chown -R nginx:nginx /var/www/html/wordpress
7) nginx 서버 재실행
systemctl restart nginx
8) 방화벽해제
systemctl stop firewalld
setenforce 0
9) 워드프레스 설정값 수정

cd /var/www/html/wordpress
vi php-config.php
10) 워드 프레스 설정
웹 페이지에서 각 값 입력 후 클릭
http://192.168.241.10/wp-admin/
[ http:// 윈도우ip주소/ wp-admin ]
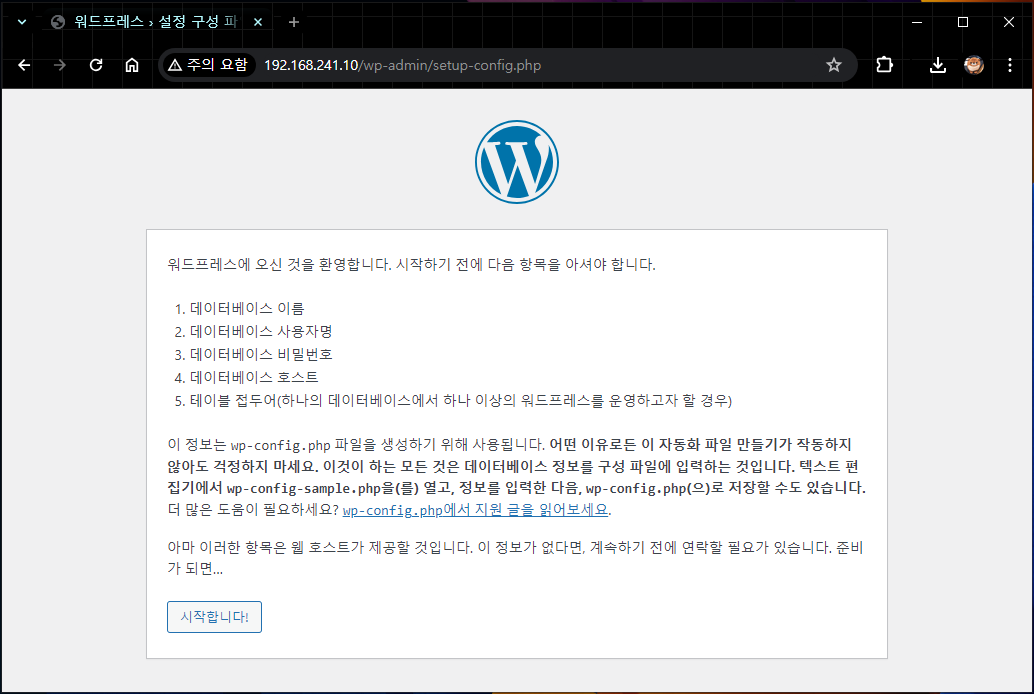
다 하고나서 주소창에 ip 입력

쭉 내용을 입력하면...

워드프레스 홈페이지가 뜹니다.
'IT관련 > 리눅스' 카테고리의 다른 글
| 프로메테우스 그라파나 연결 방법 (0) | 2024.05.14 |
|---|---|
| Virtual Network Editor IP 설정 방법 (0) | 2024.05.14 |
| 리눅스 mariaDB 설치, 윈도우 Mysql workbench 연결 (0) | 2024.05.02 |
| 리눅스 IP주소 수동 설정 방법, nginx 설치하기 (0) | 2024.04.30 |
| VMware 리눅스 CentOS 8 운영체제 설치하기 (0) | 2024.04.29 |